Make the most satisfying keyboard

I have never liked 100% while looking at the keyboards on the market. In the end, I decided to try making my own keyboard. And this is the first post logging the process.
The necessity of an aesthetically perfect keyboard
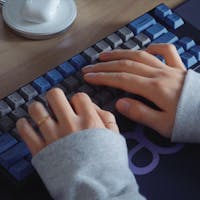
There are several layouts for the keyboard. What layout of the keyboard are you using? If you're not interested in keyboards, you're probably using a Full size keyboard.
In addition to the Full size, there are many different layouts such as Tenkeyless with tenkey removed, 65% with function key removed from Tenkeyless, 60% with arrow keys removed, and 40% with really minimal keys left. By listing these layouts, you realize that the fewer the keys, the more beautiful and uncomfortable the appearance. This is because if the number of keys is small, the missing keys must be replaced with multiple key combinations. Of course, this is when only the keyboard is used, and when the mouse is used, the Full size can be rather inconvenient even though all keys are present.
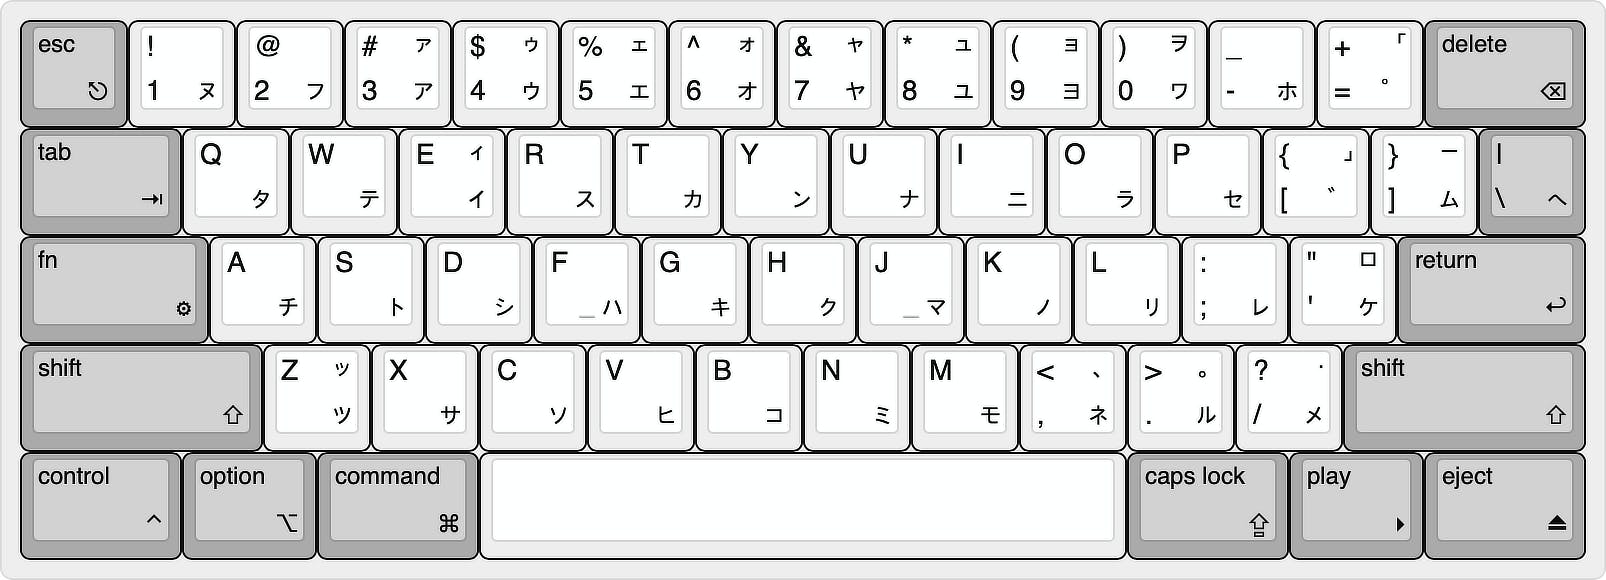
I think the most appropriate point of contact between this design and usability is the 60% keyboard. Let's take a look at the 60% layout here.
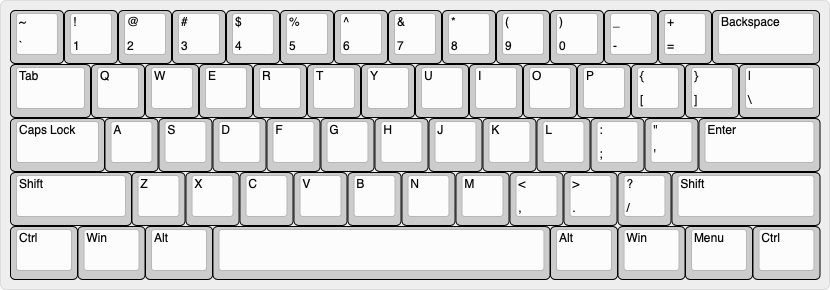
There is everything what must be, and also pretty. It must be my favorite layout.
So is this the most perfect layout? I have a little dissatisfaction to say yes. The width of the left and right Shift is different. Is there any reason to design differently? No matter how much I think about it, I can't figure out why.... And the number of keys to the left and right of the Spacebar on the bottom row is also different.
This is the layout of the standard, but when I was looking at it, I thought I could make it symmetrical. I decided to design it right away. I found a place called keyboard-layout-editor.com through google, so I could easily design a layout.
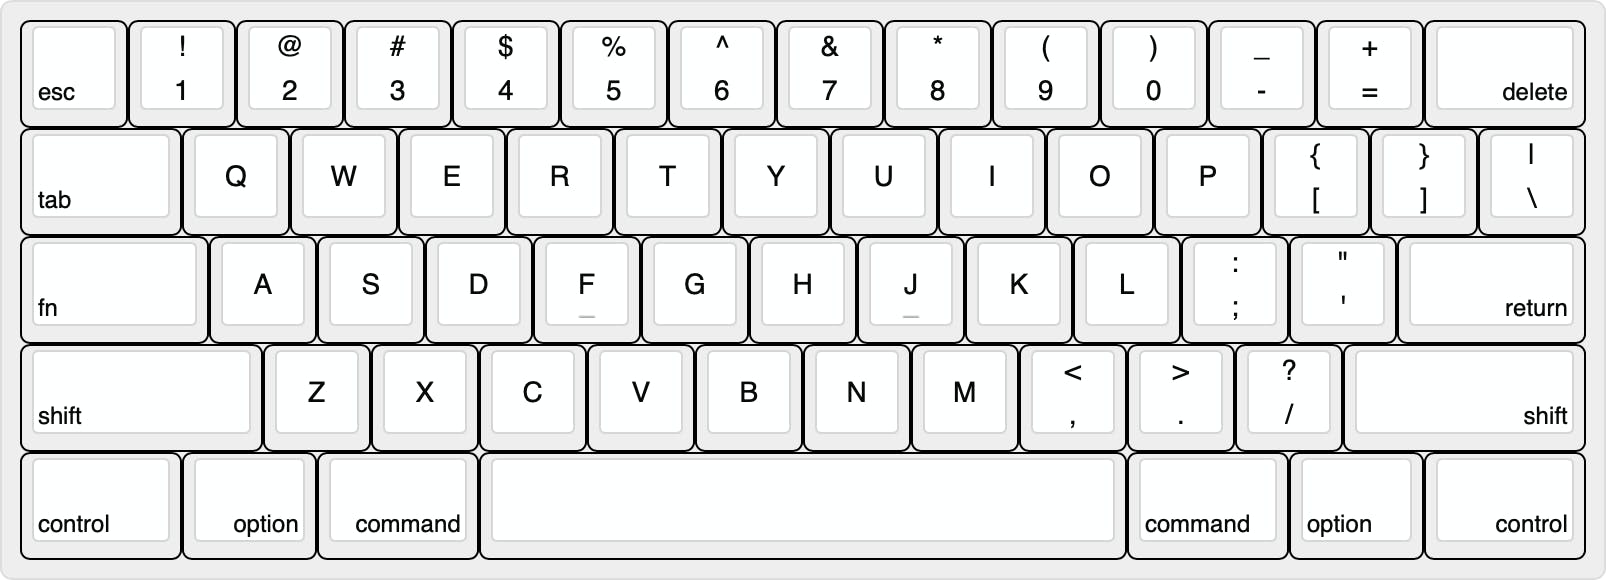
1. Layout for Mac
2. Layout for Windows
3. Custom layout for Myself
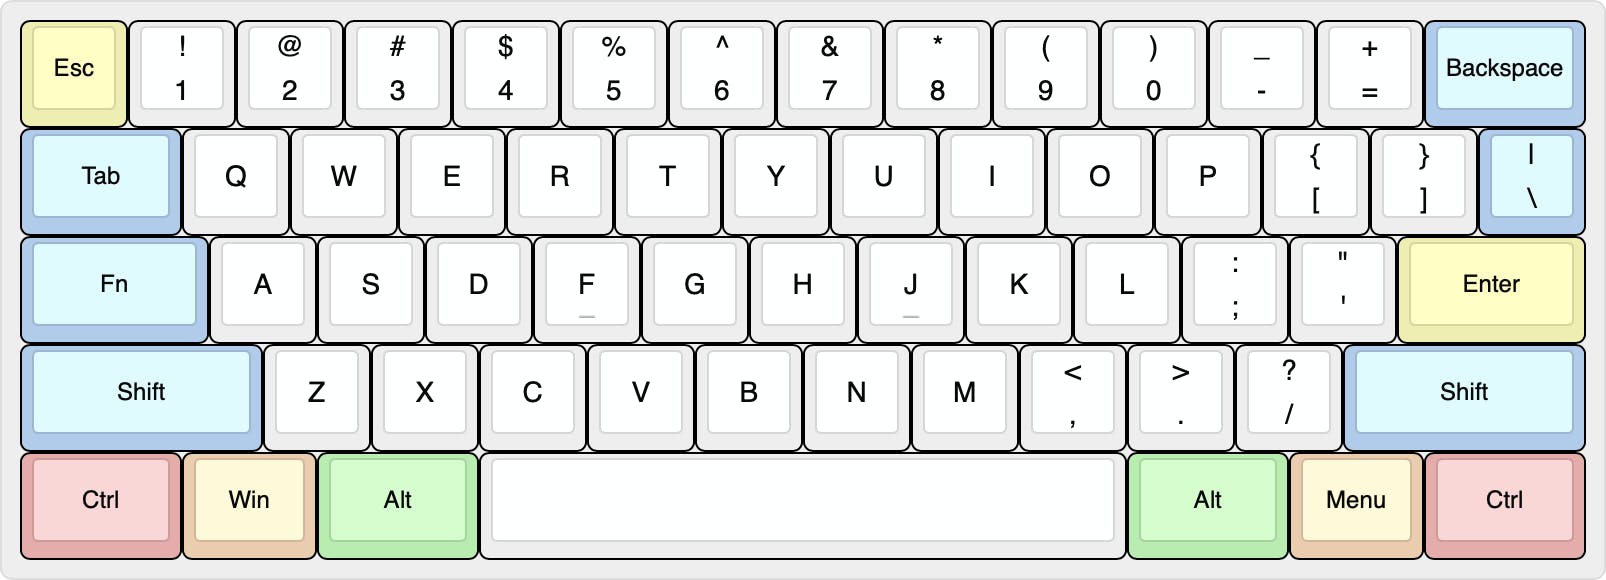
After designing the layout, I was so satisfied and beautiful that I really wanted to make this keyboard. Beauty that comes from perfect symmetry. Just looking at it makes my heart feel magnificent. The reason I engraved katakana on the keycap is just because I like retro sensibility, If you don't even make keycaps, you can't make a keyboard like that...
So let's look at the details.
Is this perfectly beautiful symmetry?
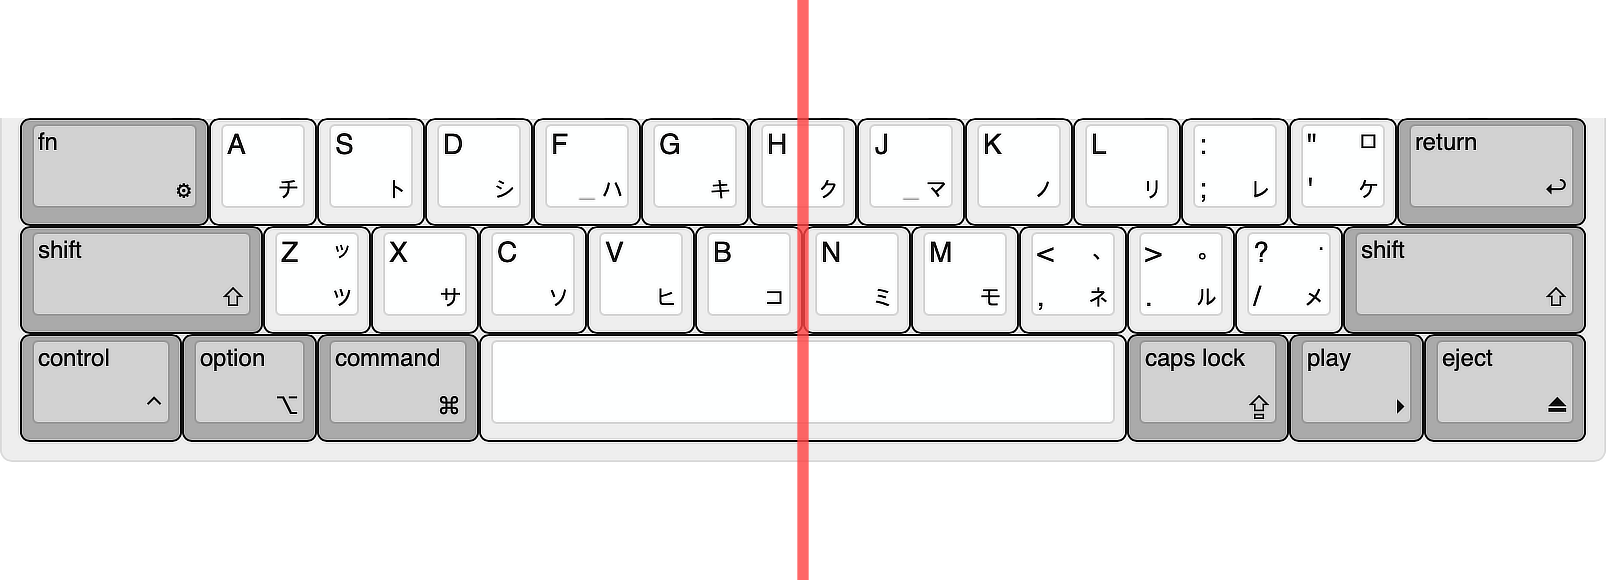
First, look at the bottom three lines. It is completely symmetrical based on the red line in the middle.
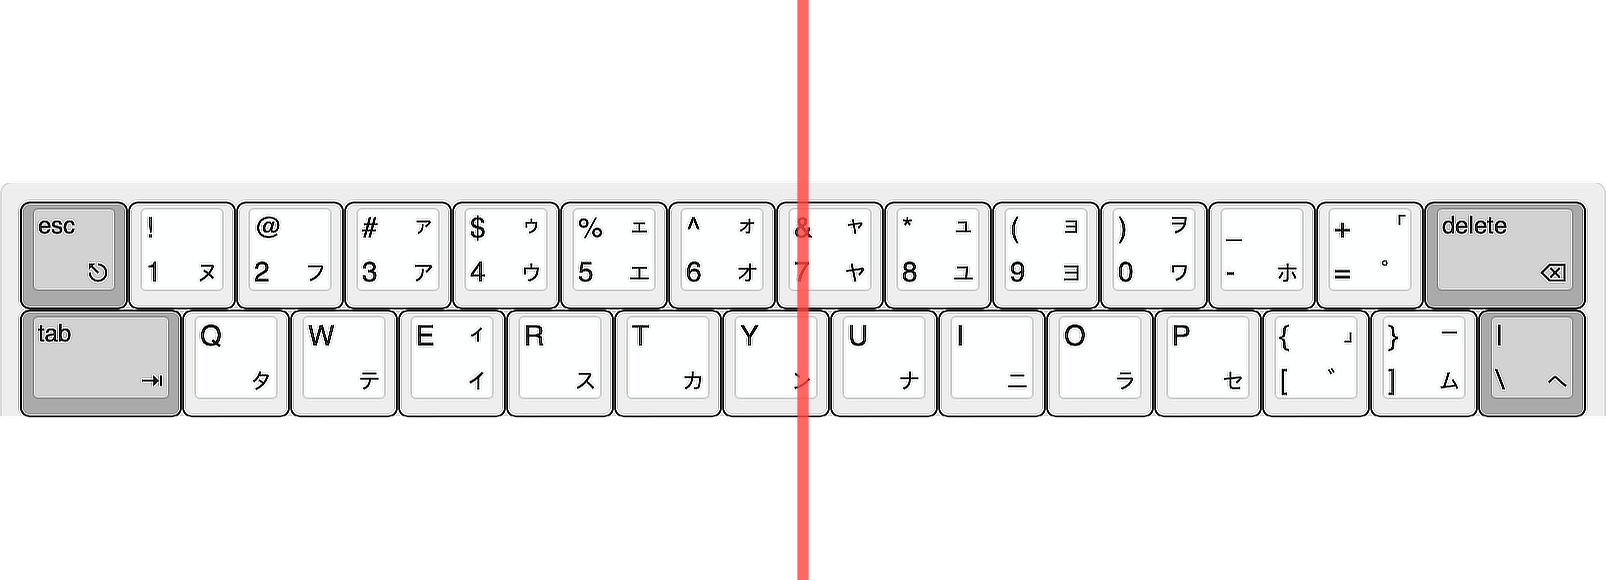
And the top two lines are diagonally symmetrical in the first and second lines based on the center line.
The reason for the placement of the keys
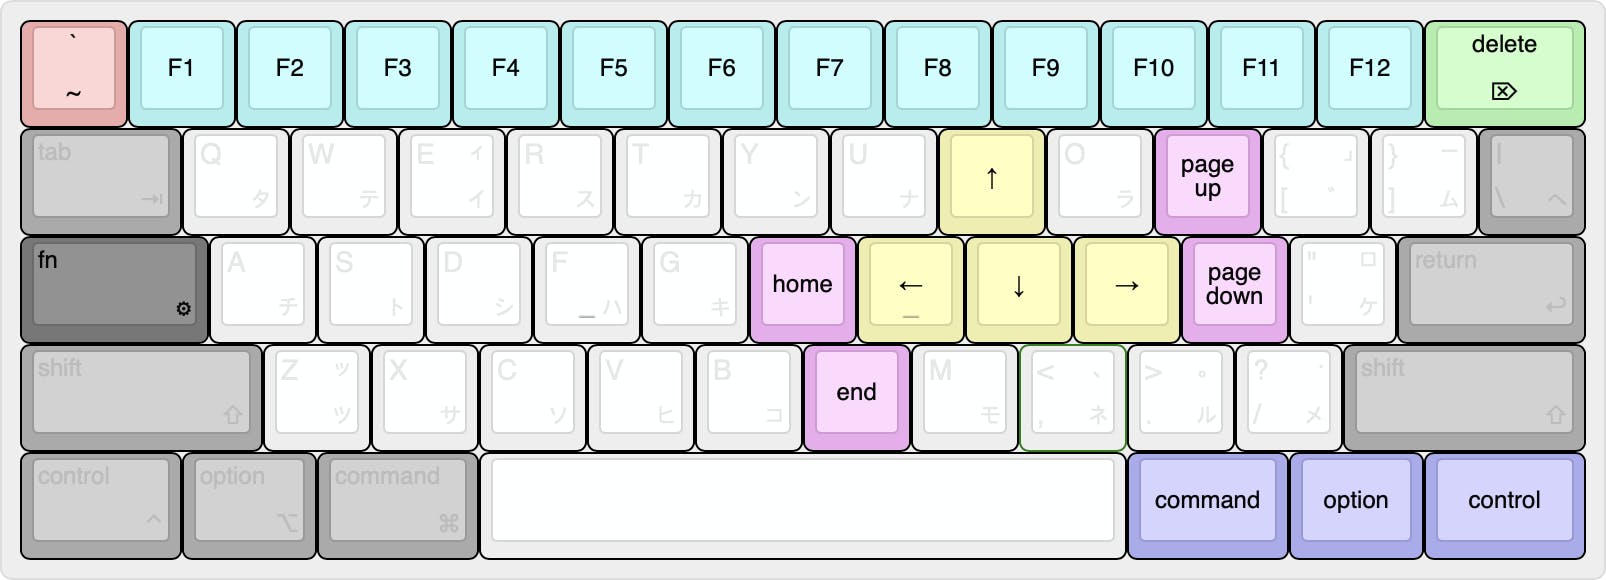
The first thing that stands out is that there is a Fn key in the place of the Caps lock key. The caps lock key is in the most accessible position of all modifier keys. But, think about it. How often do you use Caps lock key? Obviously, you've probably used it very few times. It is a waste of place to put the keys with very few use in the best position. So on a 60% keyboard where you have to use a combination of keys, it is very efficient to put the function keys here. In my custom layout, I put the caps lock key down right(Actually, it will be used as a language switch key by key mapping with a Karabiner-elements.), In the rest of the layout, I thought it would be better to use Fn + Tab and placed it like this.
Next is the placement of arrow keys, home, end, and page up/down keys. Place your hand on the keyboard and open your bent fingers. Then it will look like the picture below.
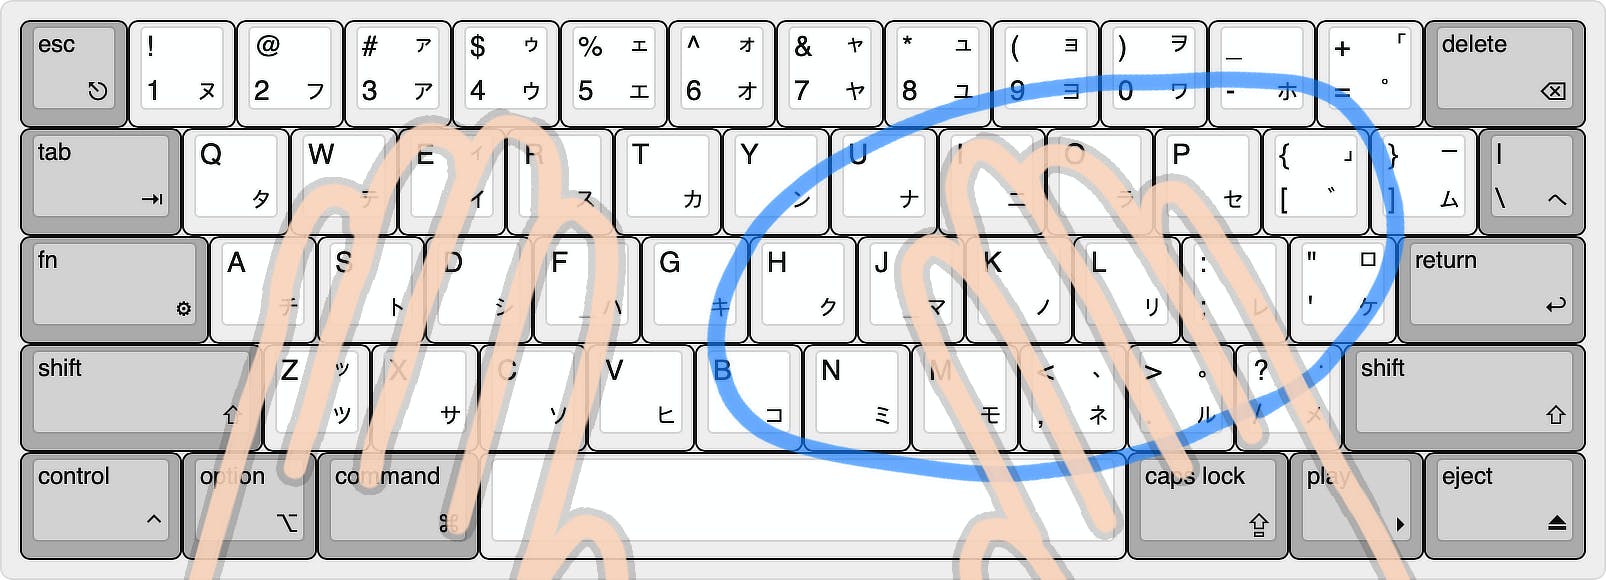
Therefore, the hand itself does not move, and the range of keys that can be comfortably pressed only by the movement of the finger is about the inside of the blue circle. The left hand presses the function key and the right hand only moves the finger in place, and the arrow keys, home, end, and page up/down keys can be operated.
[ Dec. 15, 2020 Addition ]
When watching YouTube, etc., there are many cases where you are taking your hand off the keyboard. In this case, you can manipulate the forward, backward, and volume through the arrow keys with only one hand, but the above method has no choice but to operate the arrow keys with the right hand while pressing the function keys with the left hand. Therefore, it would be a good idea to add a combination of functions and WASD to enable direction key operation with only left hand.
Physical keyboard production plan
No matter how much I look for the layout I designed now, there are no products sold at home and abroad, and no one has tried to make it. Therefore, I must design and manufacture the PCB, case, and reinforcement plate myself.
Of course, I didn't know how to design, so I found a workshop that exists in Korea and commissioned it. In the case of a PCB design request, $1 per pin is common, so a response was returned saying that 100 5-pin switches would cost more than $500 no matter how cheap they are.
According to that, I'm going to use the Cherry MX switches and I don't need the LEDs, so I think that it's possible for $120 because it's 60 keys per 2 pins per key. But I don't think it will accept such an order... I want to use plastic or aluminum for the case or reinforcement plate, but I don't know how expensive it will be to produce only two, so I would like to make it with acrylic that is simple in design and production, and also inexpensive.